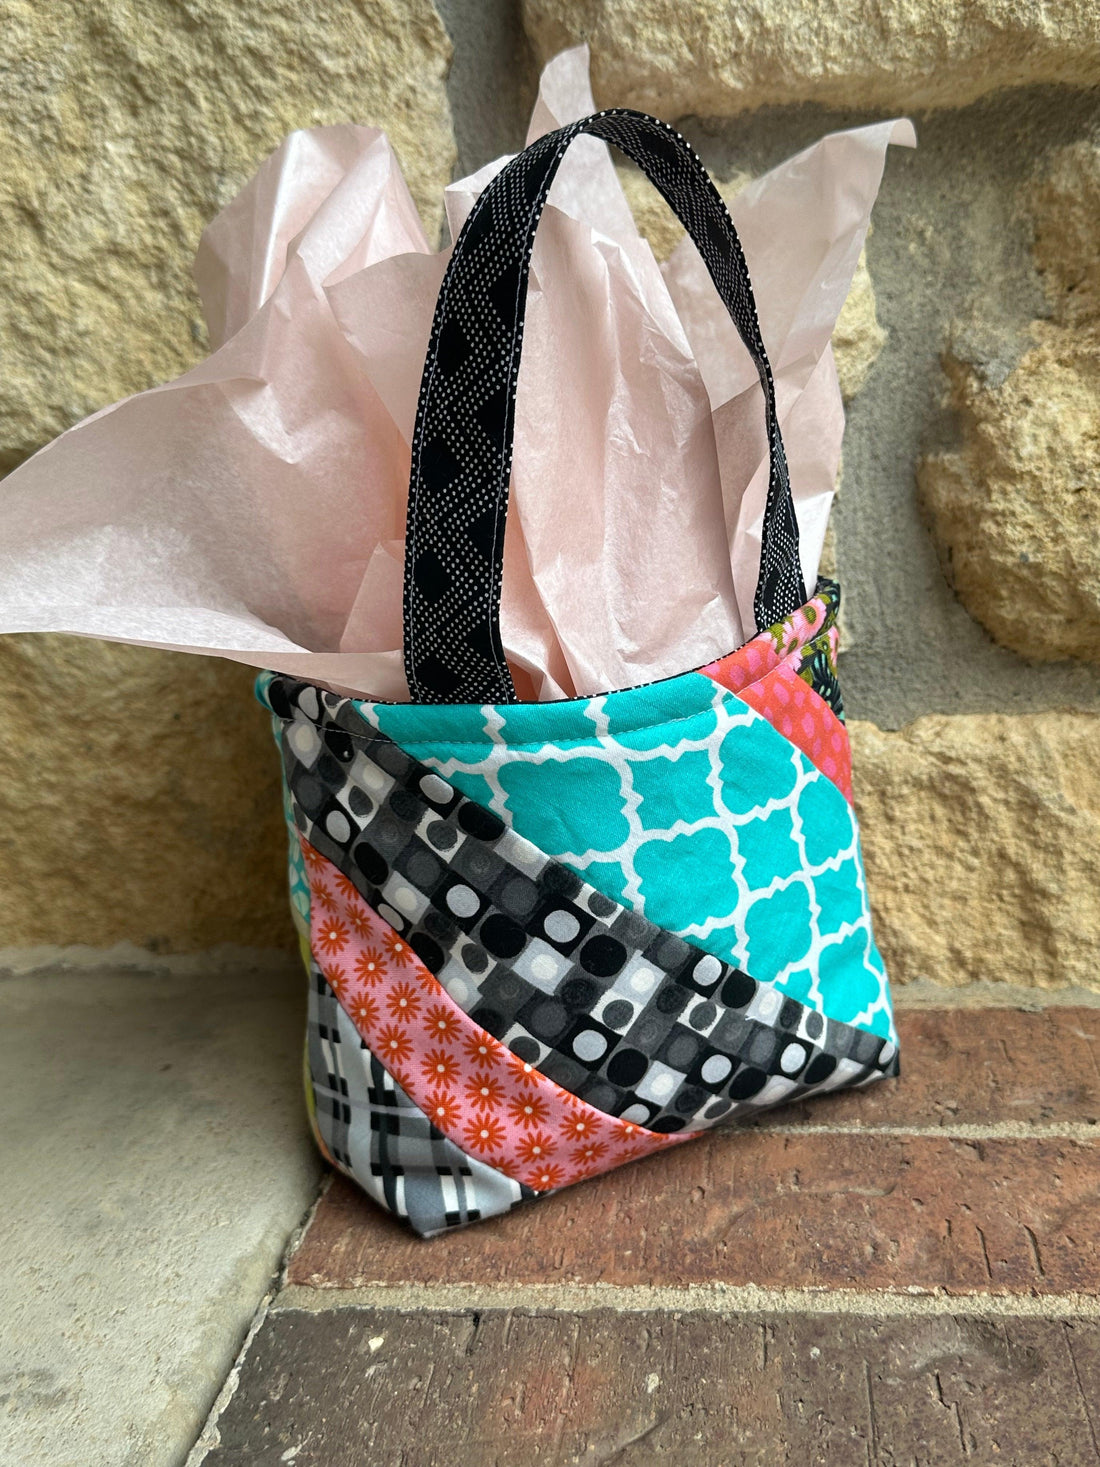
Step-by-Step Guide: How to Make a Quilted Gift or Tote Bag
Share
How to make a quilted gift or tote bag
Here’s how to create a quilted gift or tote bag—perfect for the holidays or any occasion! A handmade, reusable gift is both thoughtful and practical.
1. Determine the size of your bag
- Height-How tall you want it to be
- Length-Dimension side to side
- Width-Dimension front to back
2. Determine the size of your batting and lining fabric pieces.
Height x 2 + 1” (for seam allowance) + the width measurement
Width +1” (for seam allowance) + the width measurement
Example: For 6” x 6” x 3” Bag
Height 6 x 2 + 1 (seam allowance) + 3 (width) = 16” Long
Width 6 + 1 (seam allowance) + 3 = 10” wide
3. Cut a piece of batting with the dimensions you calculated in step 2.
4. Cut a piece of fabric for the lining according to the dimensions in step 2.
5. For the scrappy look using strips of fabric use the quilt-as-you-go method of sewing. Lay a fabric scrap or strip right side up across a corner and then place another strip right side down with raw edges even on top of the first piece. Sew across the strips with a ¼” seam allowance. Flip the strip open. Trim even with the edges of the batting. I suggest pressing after each new strip is added.
.


6. Continue in this manner until your piece of batting is filled. TIP: Make sure your strips are long enough to cover side to side especially if you are doing a diagonal layout, avoid some frustration.
7. Fold your quilted piece in half right sides together and sew the side seams with a ½” seam allowance.
8. Box the corners by folding the bag at the bottom creating a triangle. Measure from the corner along the seam half the measurement of the width and mark with a pin or fabric marker. . Example 3” wide 1 ½” from the corner. Stitch along the marking. Repeat for the other side. Turn bag right side out.


9. Make the lining following steps 6 and 7, leaving about 3-4” open in the middle of one side.
10. Make the straps. Take a 24” x 4” piece of fabric and fold in half lengthwise and press. Then fold each edge in to meet the center crease and press. Fold in half again and press. Edge stitch both long edges. Cut into 2 equal straps 12” long.
11. Attach the straps. Find the center of the front and back of the bag by matching side seams and marking the centers with a pin. Measure 1 ½’ to each side of the center and place your straps at these locations. Baste in place at upper edge.

12. Put it all together. Place the bag inside the lining right sides together and with upper edges even. Match the side seams and pin in a few places. Stitch top edges together with a ½” seam allowance. Turn right side out through the opening in the lining and push lining into the bag and press the upper edge. Topstitch ⅜” from upper edge. Stitch closed the opening in the lining.

All Done!
