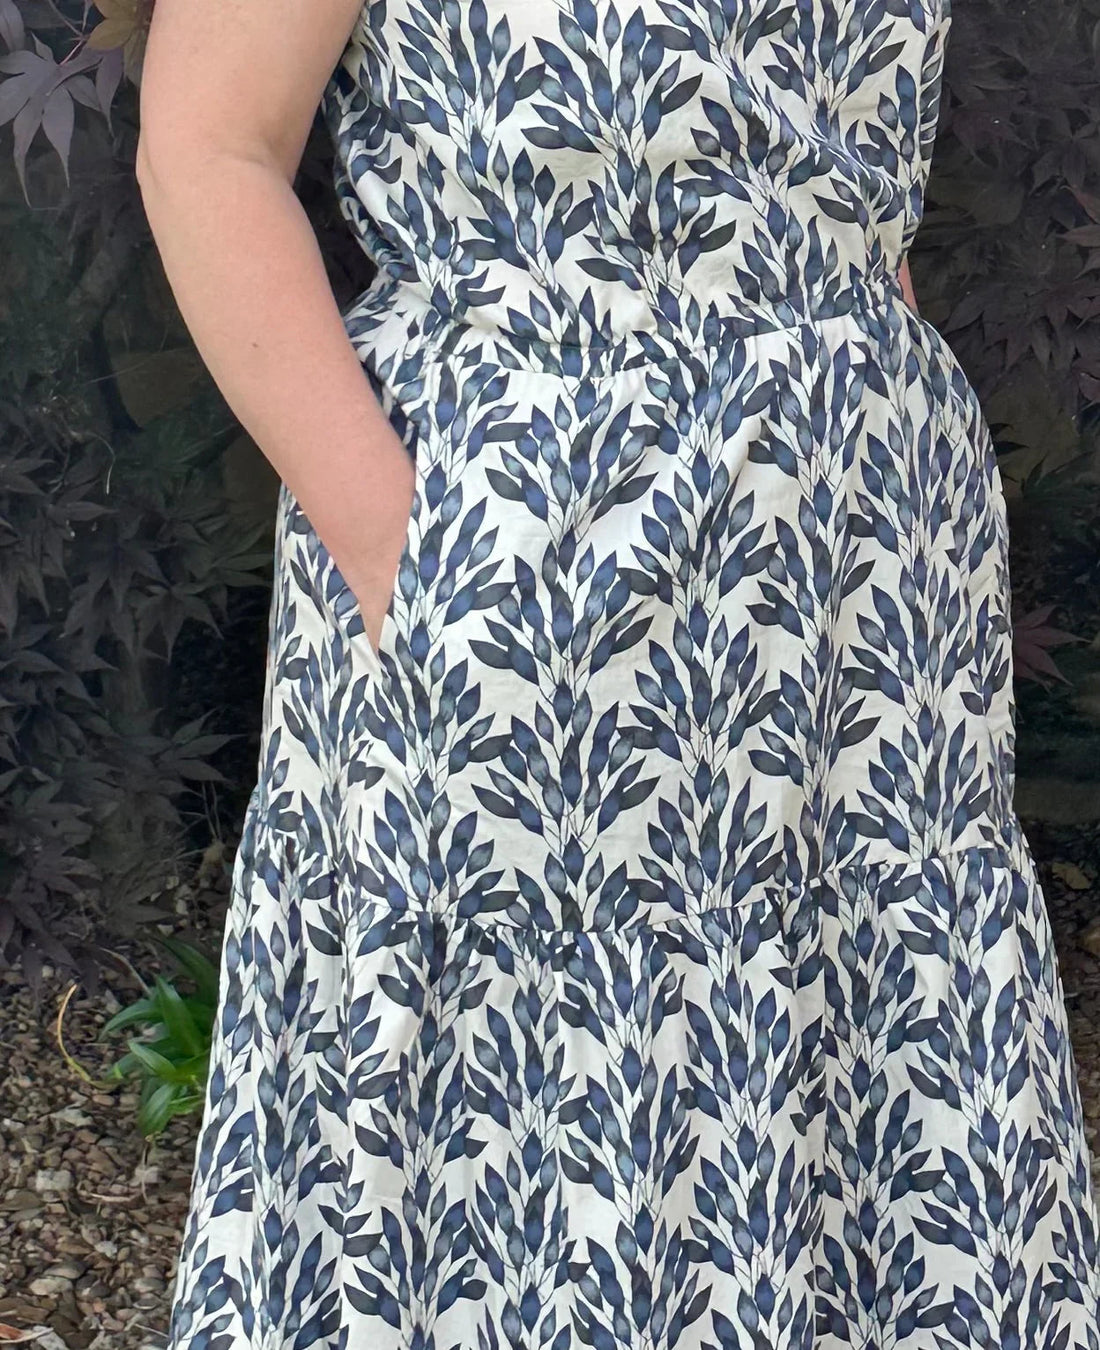
How to Add In-Seam Pockets to Any Dress, Skirt, or Pants Pattern
Share
Ever fall in love with a garment pattern only to realize—gasp—it has no pockets? Don’t worry. With this simple add-on, you can sneak practical, sleek pockets into nearly any side-seamed garment. This method works for dresses, skirts, or pants, and the best part? It only takes a few extra steps.
Let’s get stitching.
What You’ll Need
- Your pocket pattern piece (grab ours or use any standard in-seam pocket template)
- Fabric scraps large enough for 4 pocket pieces
- Basic sewing tools: pins, scissors, sewing machine, and optional serger or zig-zag stitch
Step 1: Cut Out Your Pockets
Cut 4 pocket pieces using your chosen fabric. Lightweight cotton works great for most garments, but feel free to match your main fabric for a seamless look.
Step 2: Mark Pocket Placement
On your front and back garment pieces, measure and mark the pocket opening along the side seam:
- Start 2” below the waistline and ⅝” in from the edge—mark this spot. The waistline should be marked at the center front, follow this line across to the side seam. Then to find this on the back line up the side seams of the front and back garment pieces and mark the back.
- Then measure 6” down and mark again, do these markings at all side seams.
These two dots are your pocket opening and placement guides.
Step 3: (Optional) Finish Edges
You can finish the curved edge of each pocket piece now with a zig-zag stitch or serger to prevent fraying, especially if your fabric likes to unravel.
Step 4: Attach Pocket Pieces
Pin and stitch a pocket piece to each side of the front and back pieces—4 total—lining up the dots, right sides together, with right sides together. Use a ⅜” seam allowance.

Press the pockets outward and stitch close to the seam line, this is called under-stitching, this will keep the pockets lying flat and tidy.
Step 5: Sew Side Seams and Pockets
- Finish your raw side seam edges.
- Stitch the front and back garment pieces together from the top down to the first dot (⅝” seam allowance).

- Skip the pocket opening, then continue stitching from the second dot down to the hem.
- Now stitch the curved pocket edges together starting and finishing at the side seams—this forms the actual pocket bag. Don’t forget to backstitch at the pocket opening for durability.
Step 6: Press Like a Pro
- Clip into the back seam allowance just below the pocket.
- Press the pocket toward the front.
- Press the rest of the side seam open.
And just like that—your once-pocketless garment now has sleek, functional in-seam pockets. Go ahead and do a little twirl (with your hands in your pockets, of course).
Want the downloadable pattern piece for this tutorial? Grab it here and give your handmade wardrobe the pockets it deserves.
